Creating Profile Subscriptions through Self Checkout
Providers are able to upgrade their profiles on a subscription service, using a self checkout on their My GuideClient Portal. This feature allows the individual provider to have easy control over which profiles they would like to promote and for how long.
2.
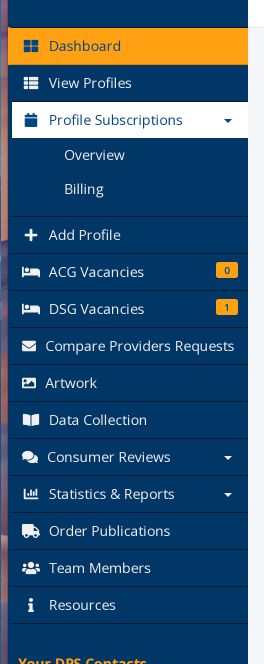
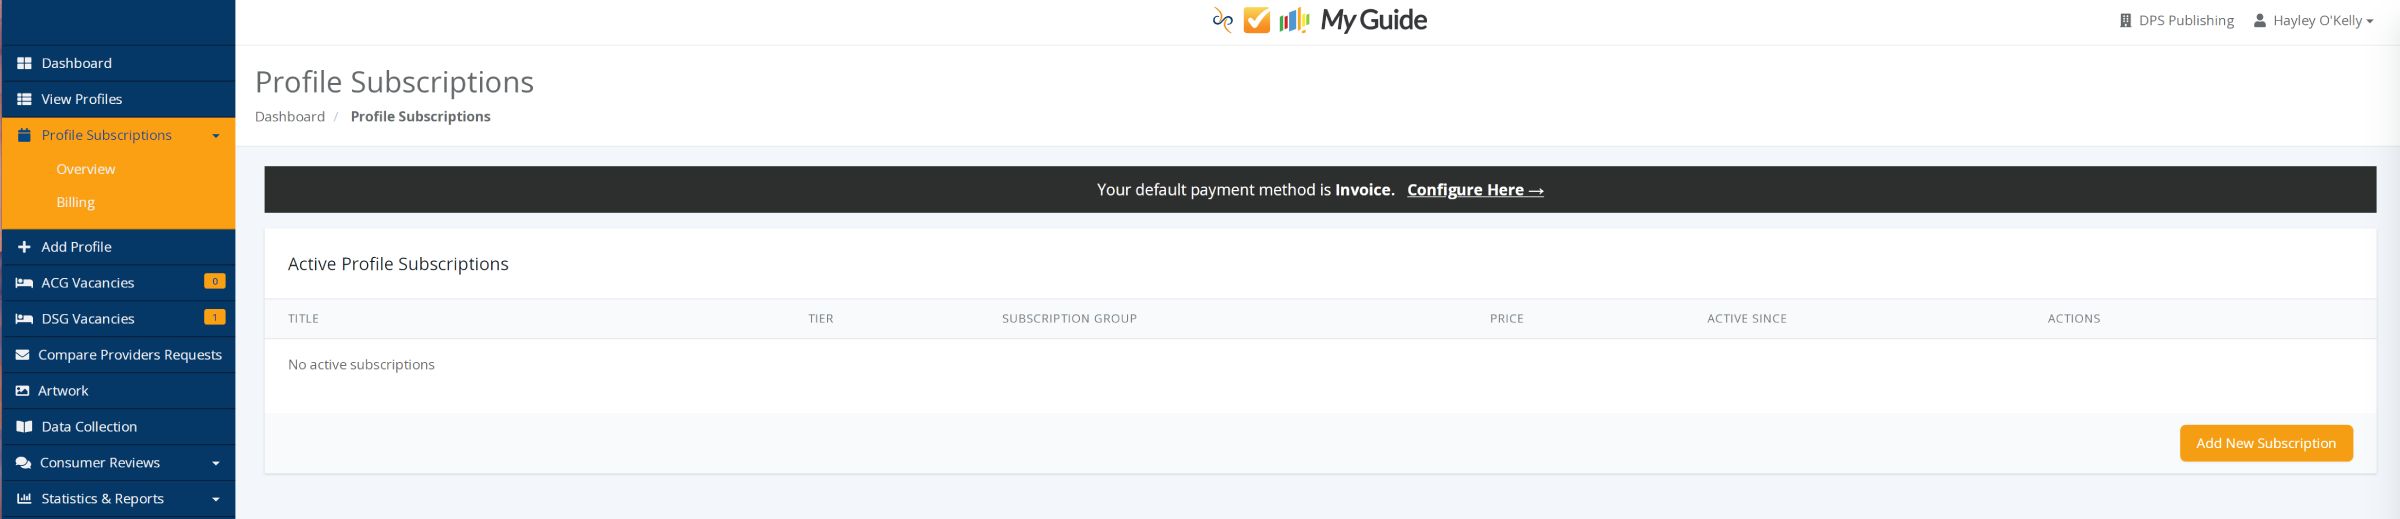
When you first login you will see your Main Dashboard Page. This page has a brief snapshot of your profiles, any Open Requests Awaiting Your Response, Consumer Reviews, 3 month snapshot and your Vacancies and availabilities. There is the contact information for the Customer Service Representative, Sales Representative allocated to your profiles as well as the contact information for the DPS Publishing office at the bottom of the menu on the Left hand side if you have any issues. From the menu click on the down arrow next to Profile Subscriptions and it will show 2 more options Overview and Billing. If you click on Overview it will show all profile subscriptions you have active and will allow you to create a new profile subscription. The billing option will show you which card is currently your default payment option and will allow you to add another subscription.
3.
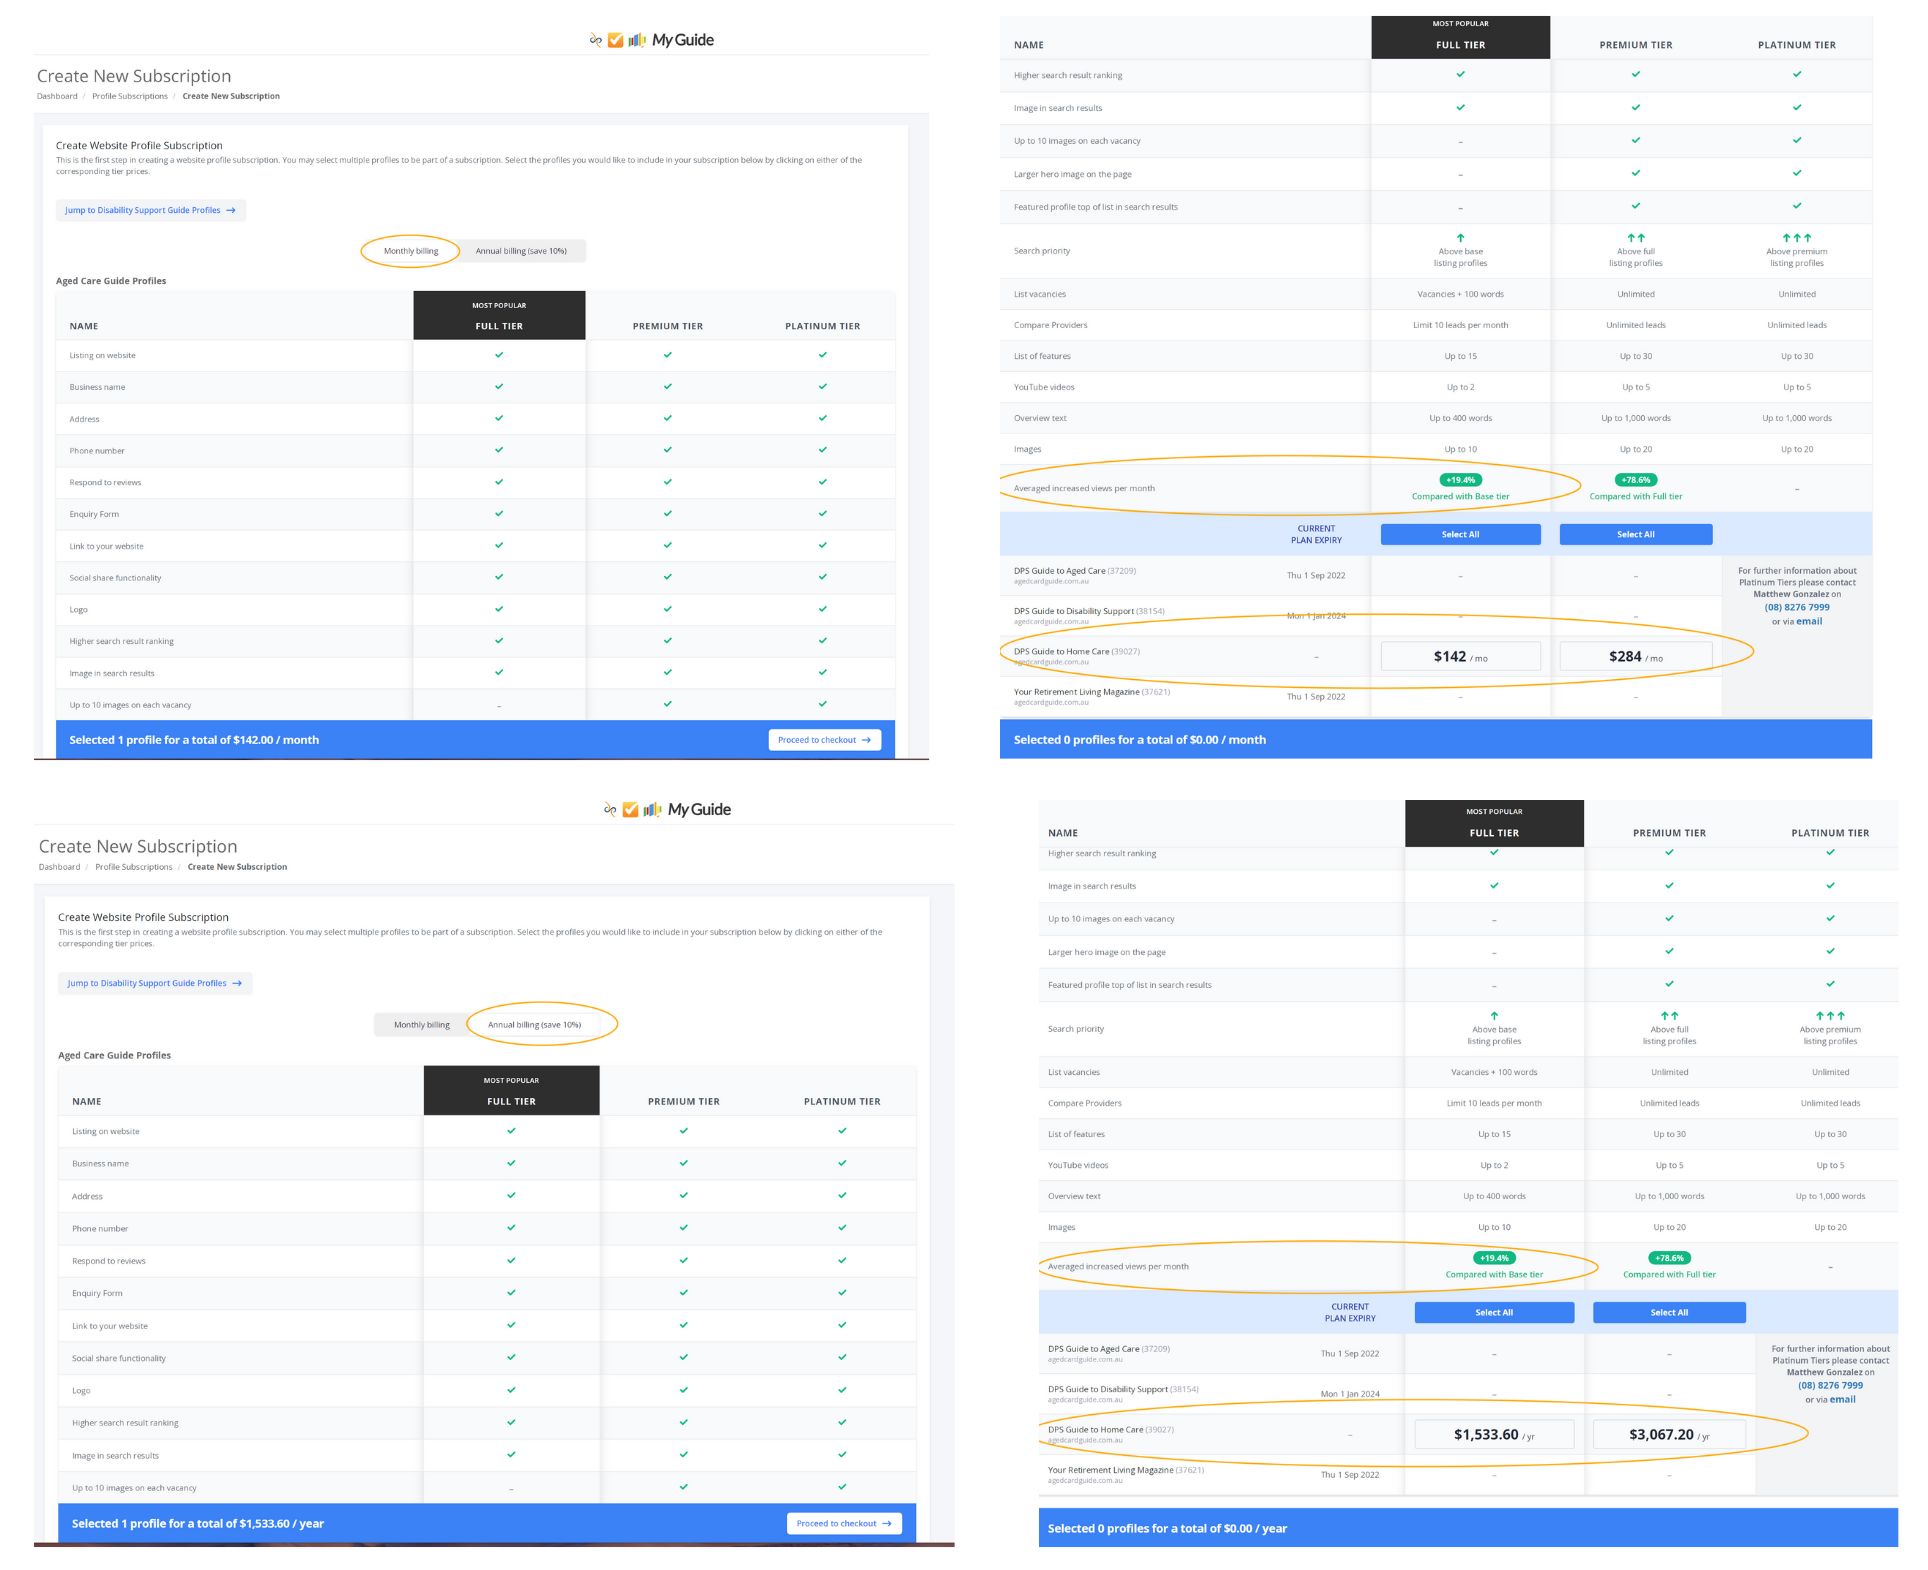
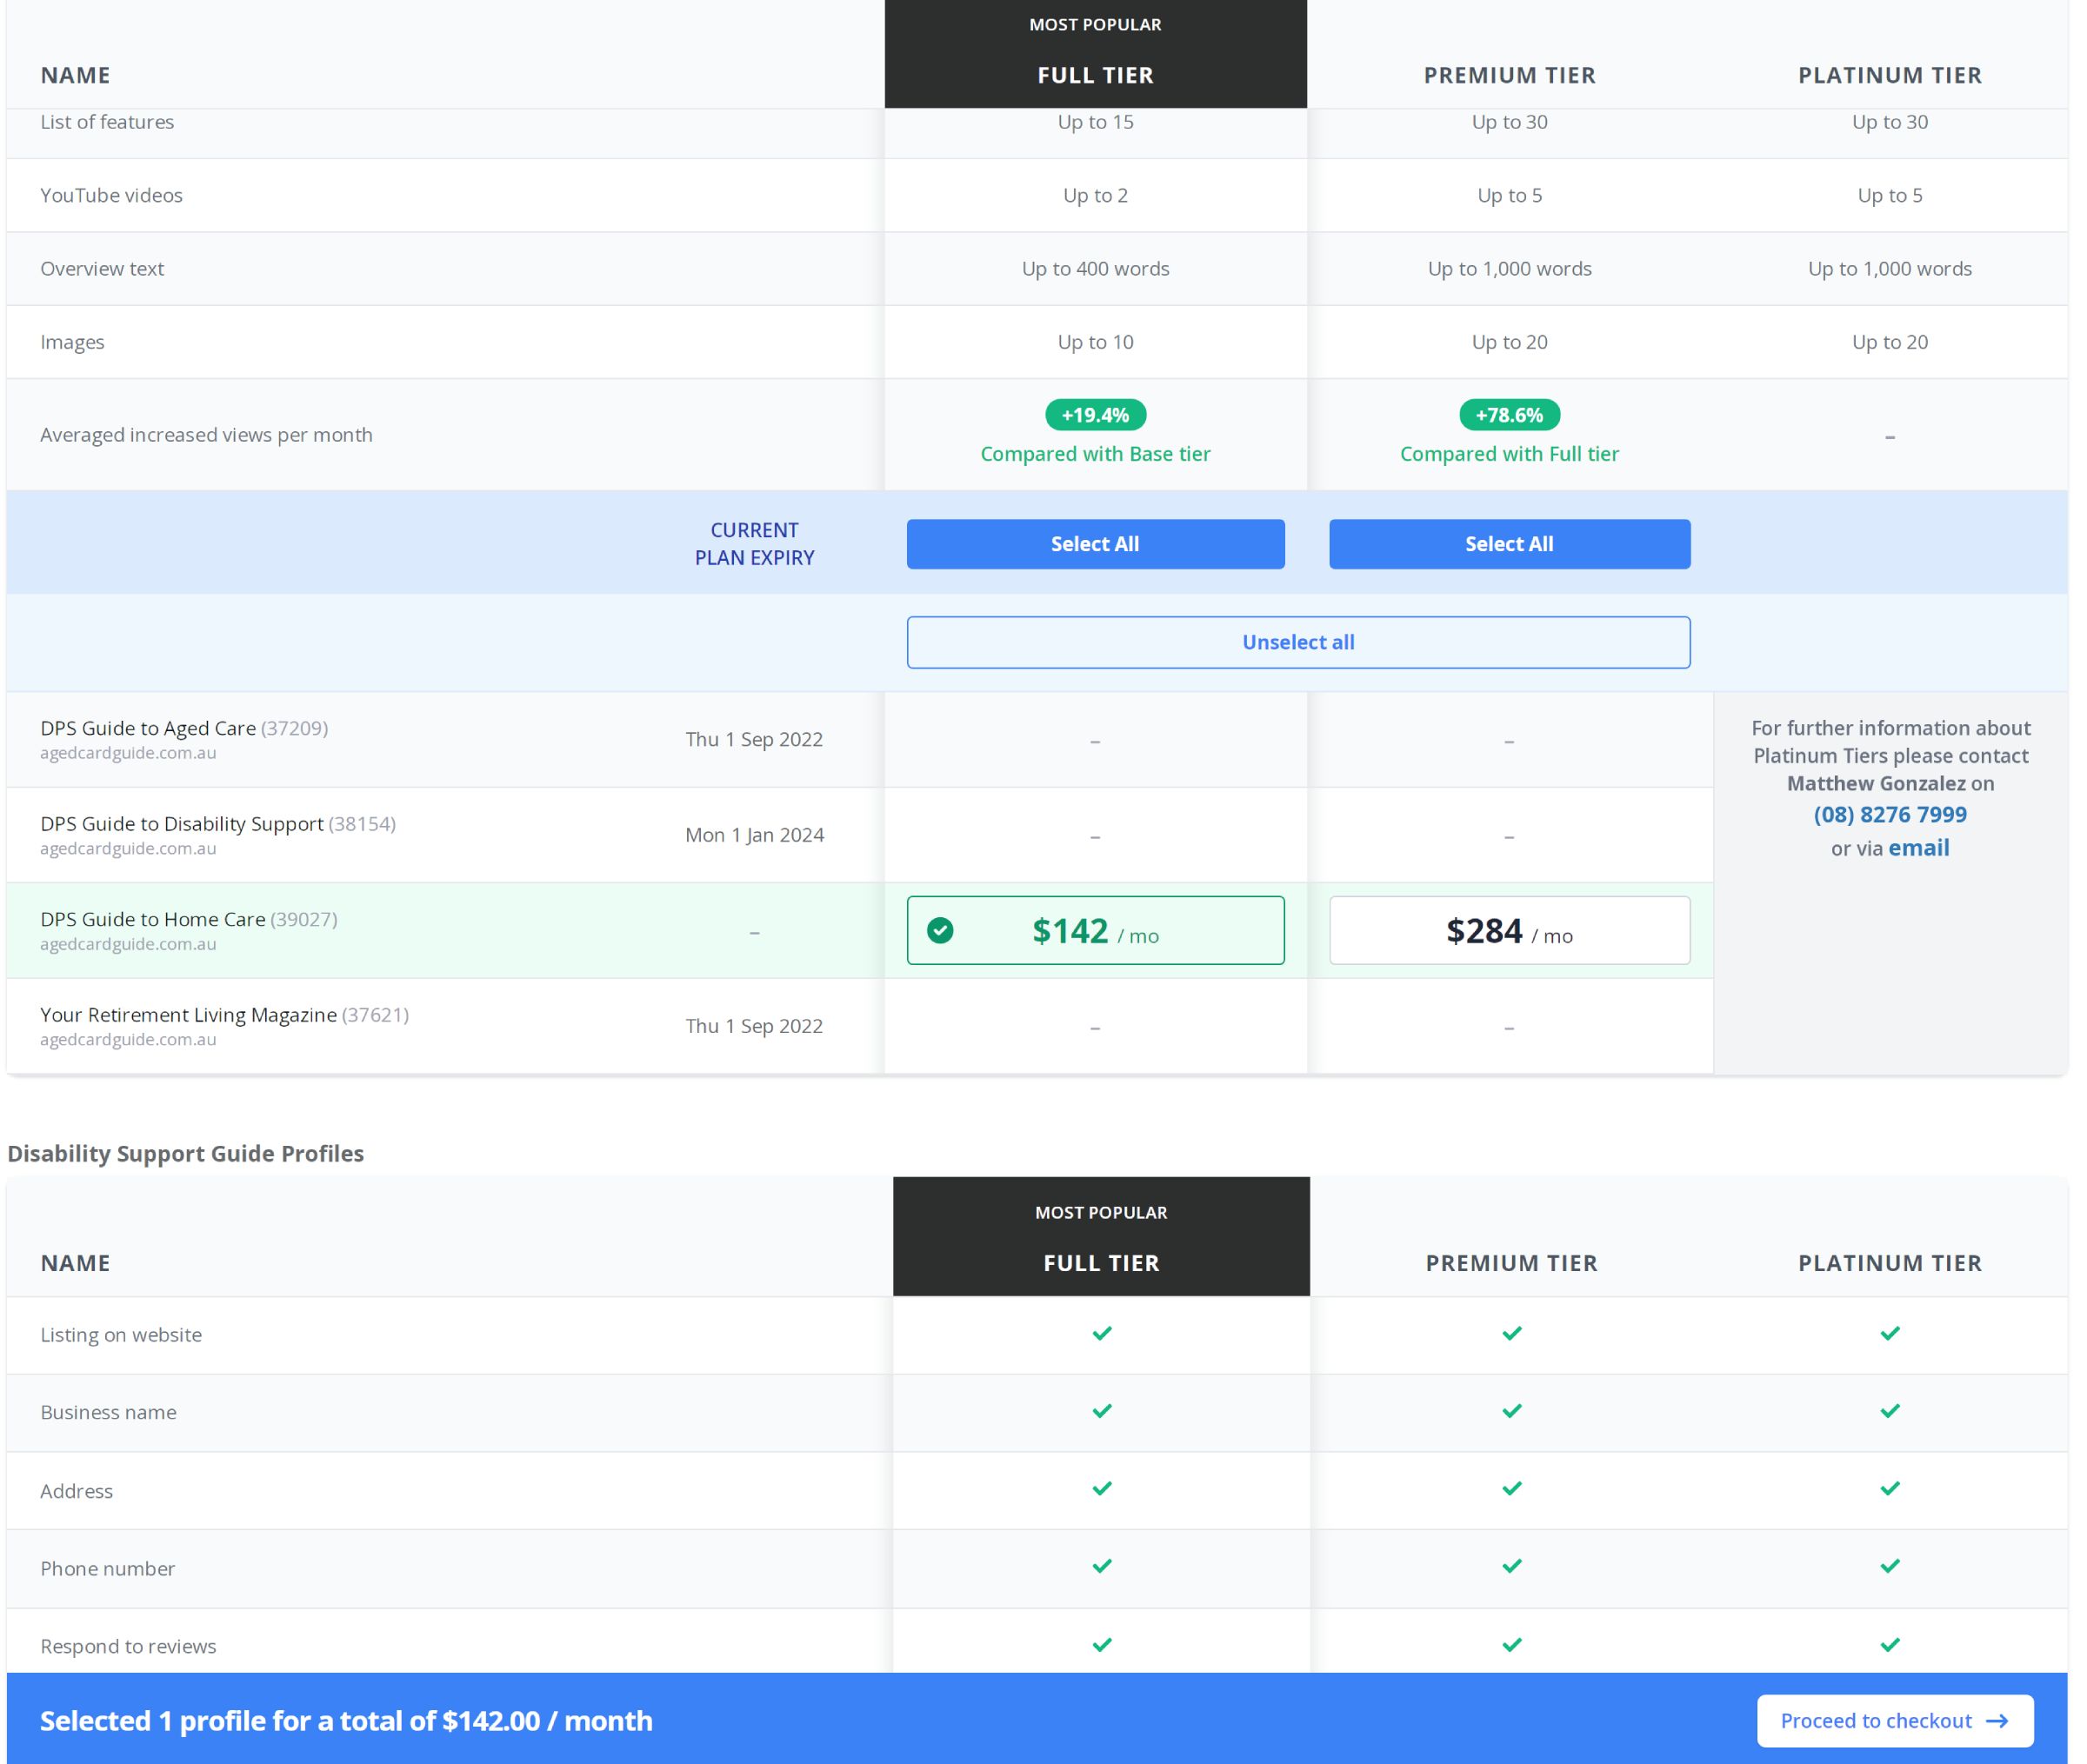
Press the orange “Add New Subscription” button on the overview dashboard. This will take you to a page with the billing type, either Monthly billing or Annual billing, the three different tier options available, Full Tier; Premium Tier; or Platinum Tier; with a listing of the different offerings available in each tier. At the bottom of the list there is a guide of the expected increase for each tier, and a list of all of your profiles with their current plan expiry date, if any, and the price to upgrade each profile either monthly or annually.
4.
Once you select the profiles, selecting the button with the price on it, click on the proceed to checkout button in the blue banner at the bottom of the page.
5.
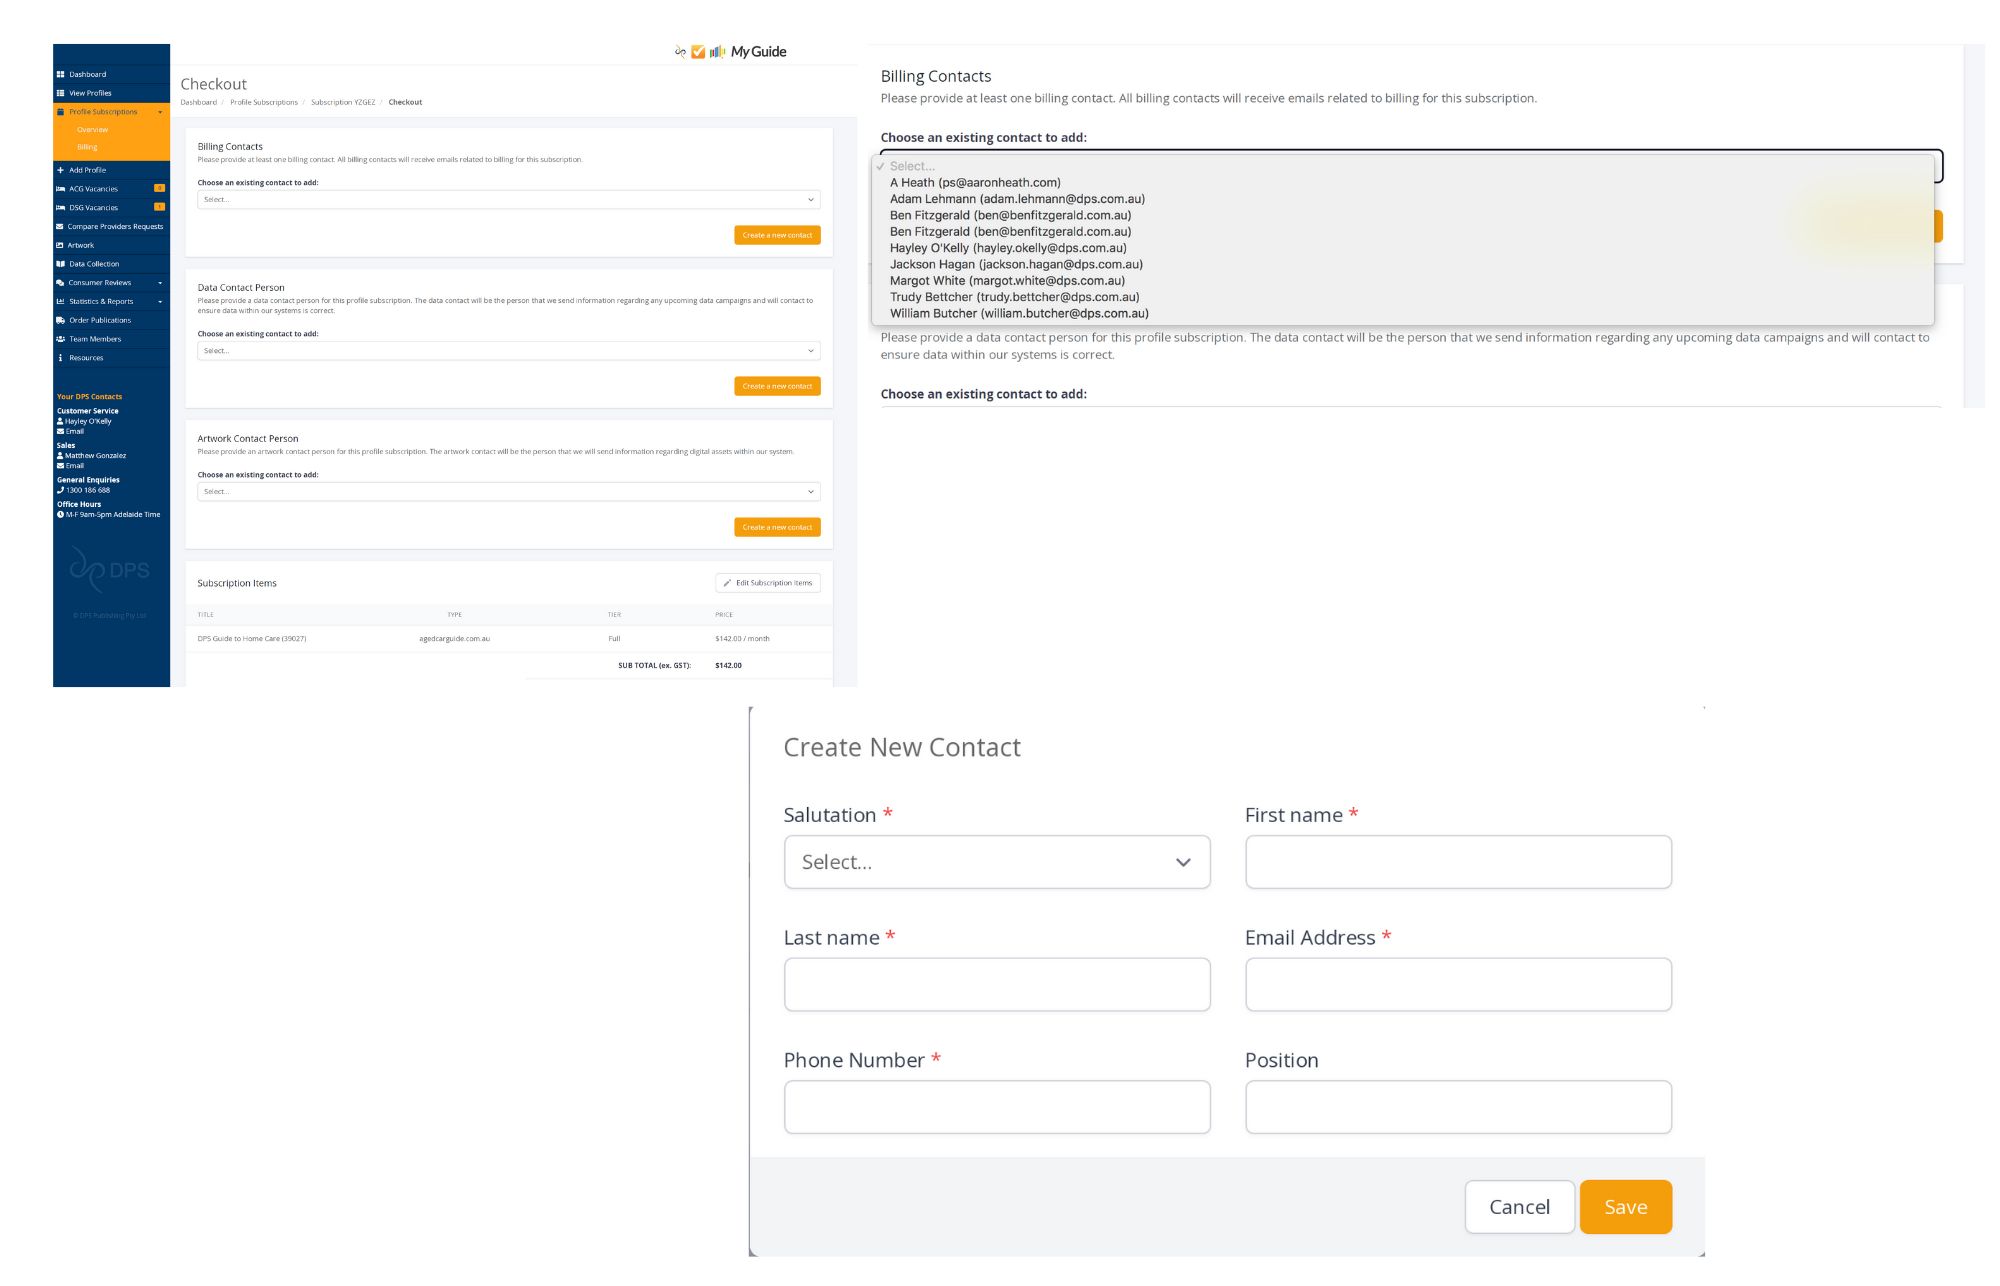
This will take you to the checkout page where you will need to select contacts for Billing, Data and Artwork.You are able to have different contacts or the same person for each contact.There is a drop down menu listing all existing contacts or you can Create a new contact by clicking on the orange button and filling in the details.
6.
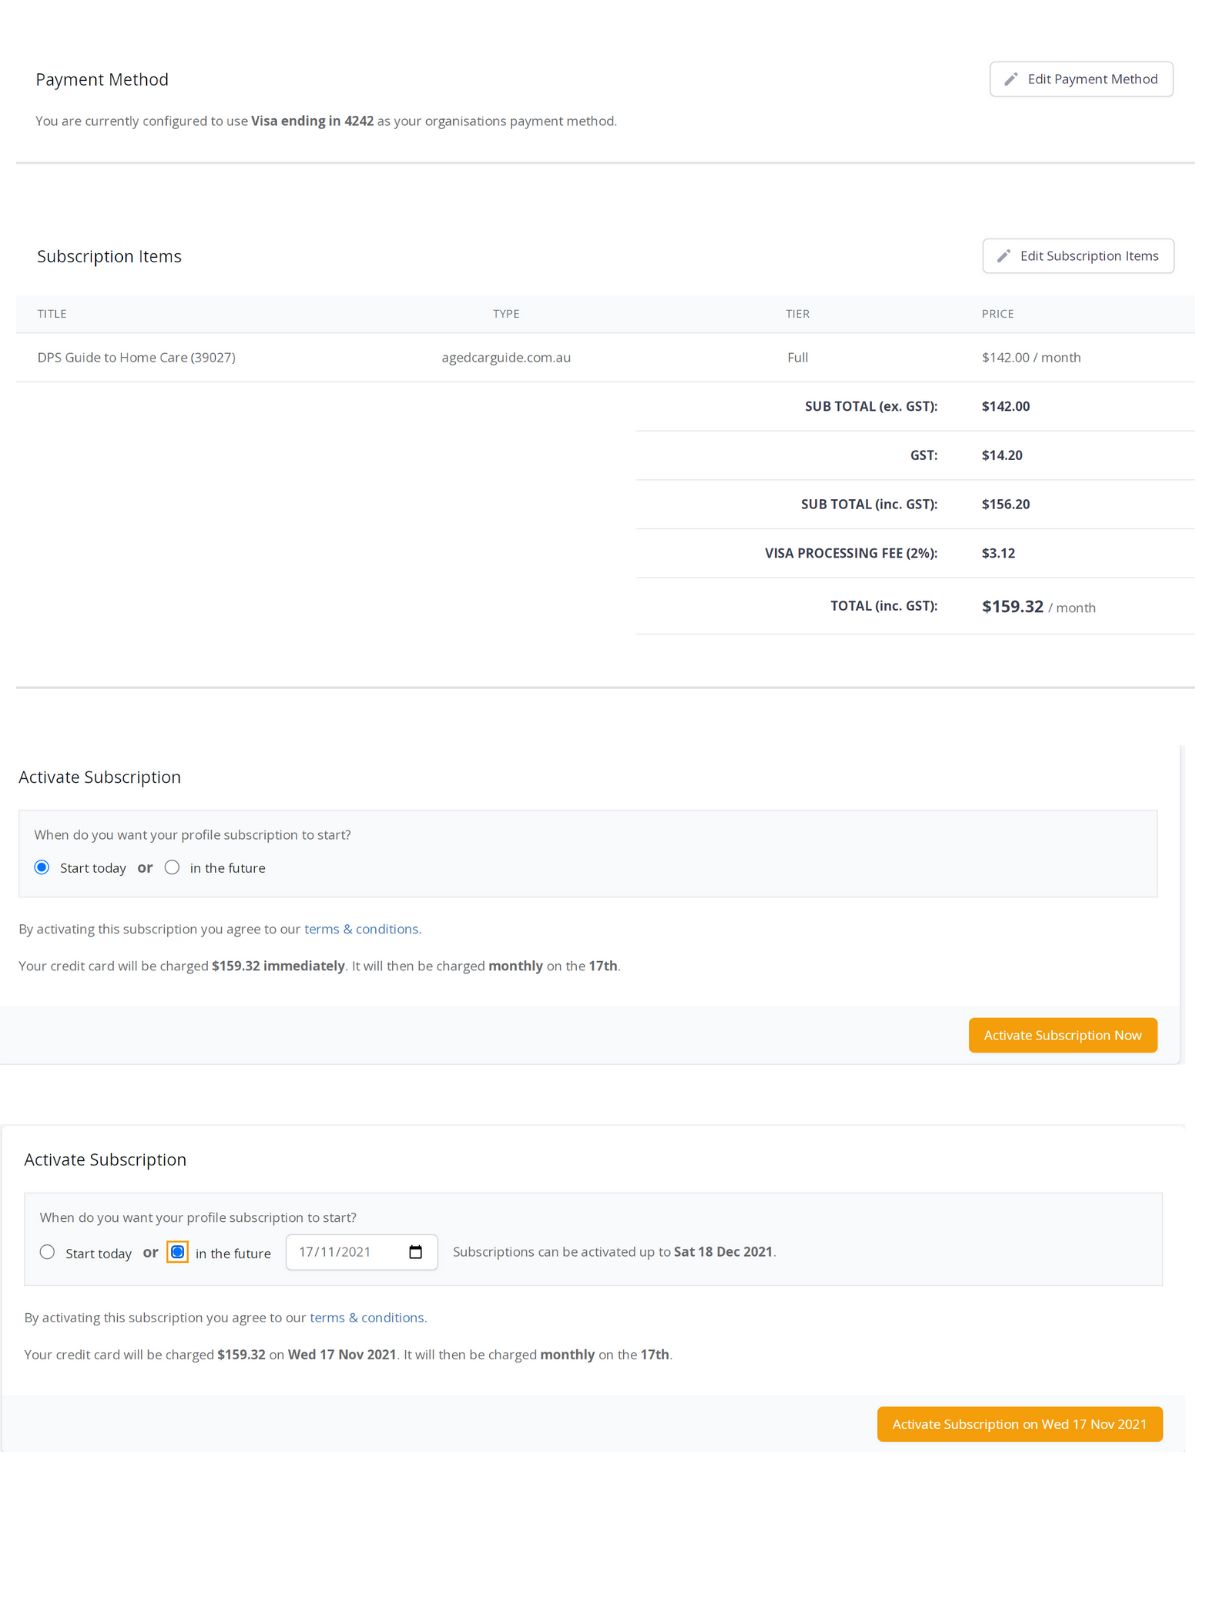
Further down the checkout page it will detail your subscription items, you can edit your items, and your payment method. You also have the option to start your profile subscription today or in the future. If you would like to start your subscription in the future you can pick a date in the next 30 days. At this point you can view and read the terms & conditions. It also tells you how much your credit card will be charged and when your credit card will be charged in the future.
7.
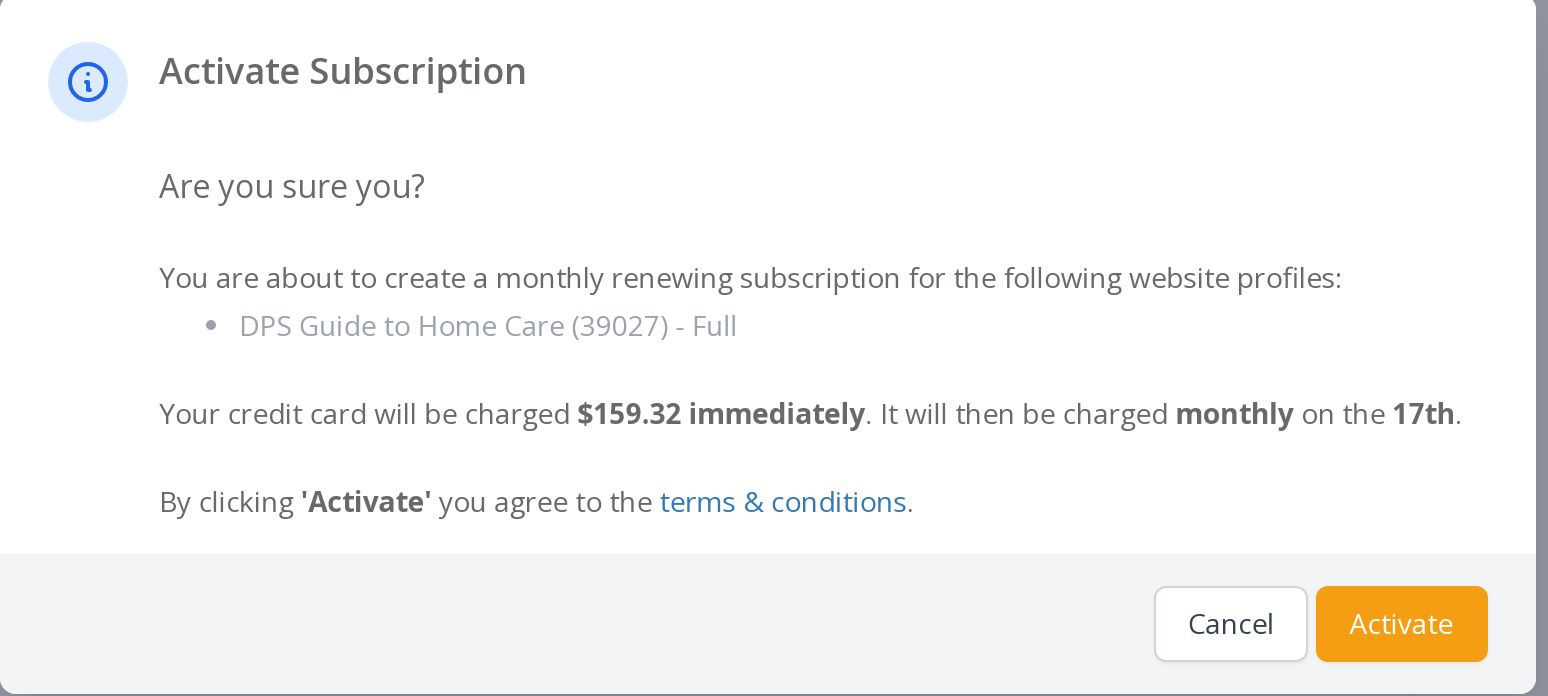
After you click the Activate Subscription orange button you will see a pop up box verifying that you would like to proceed with the subscription.
8.
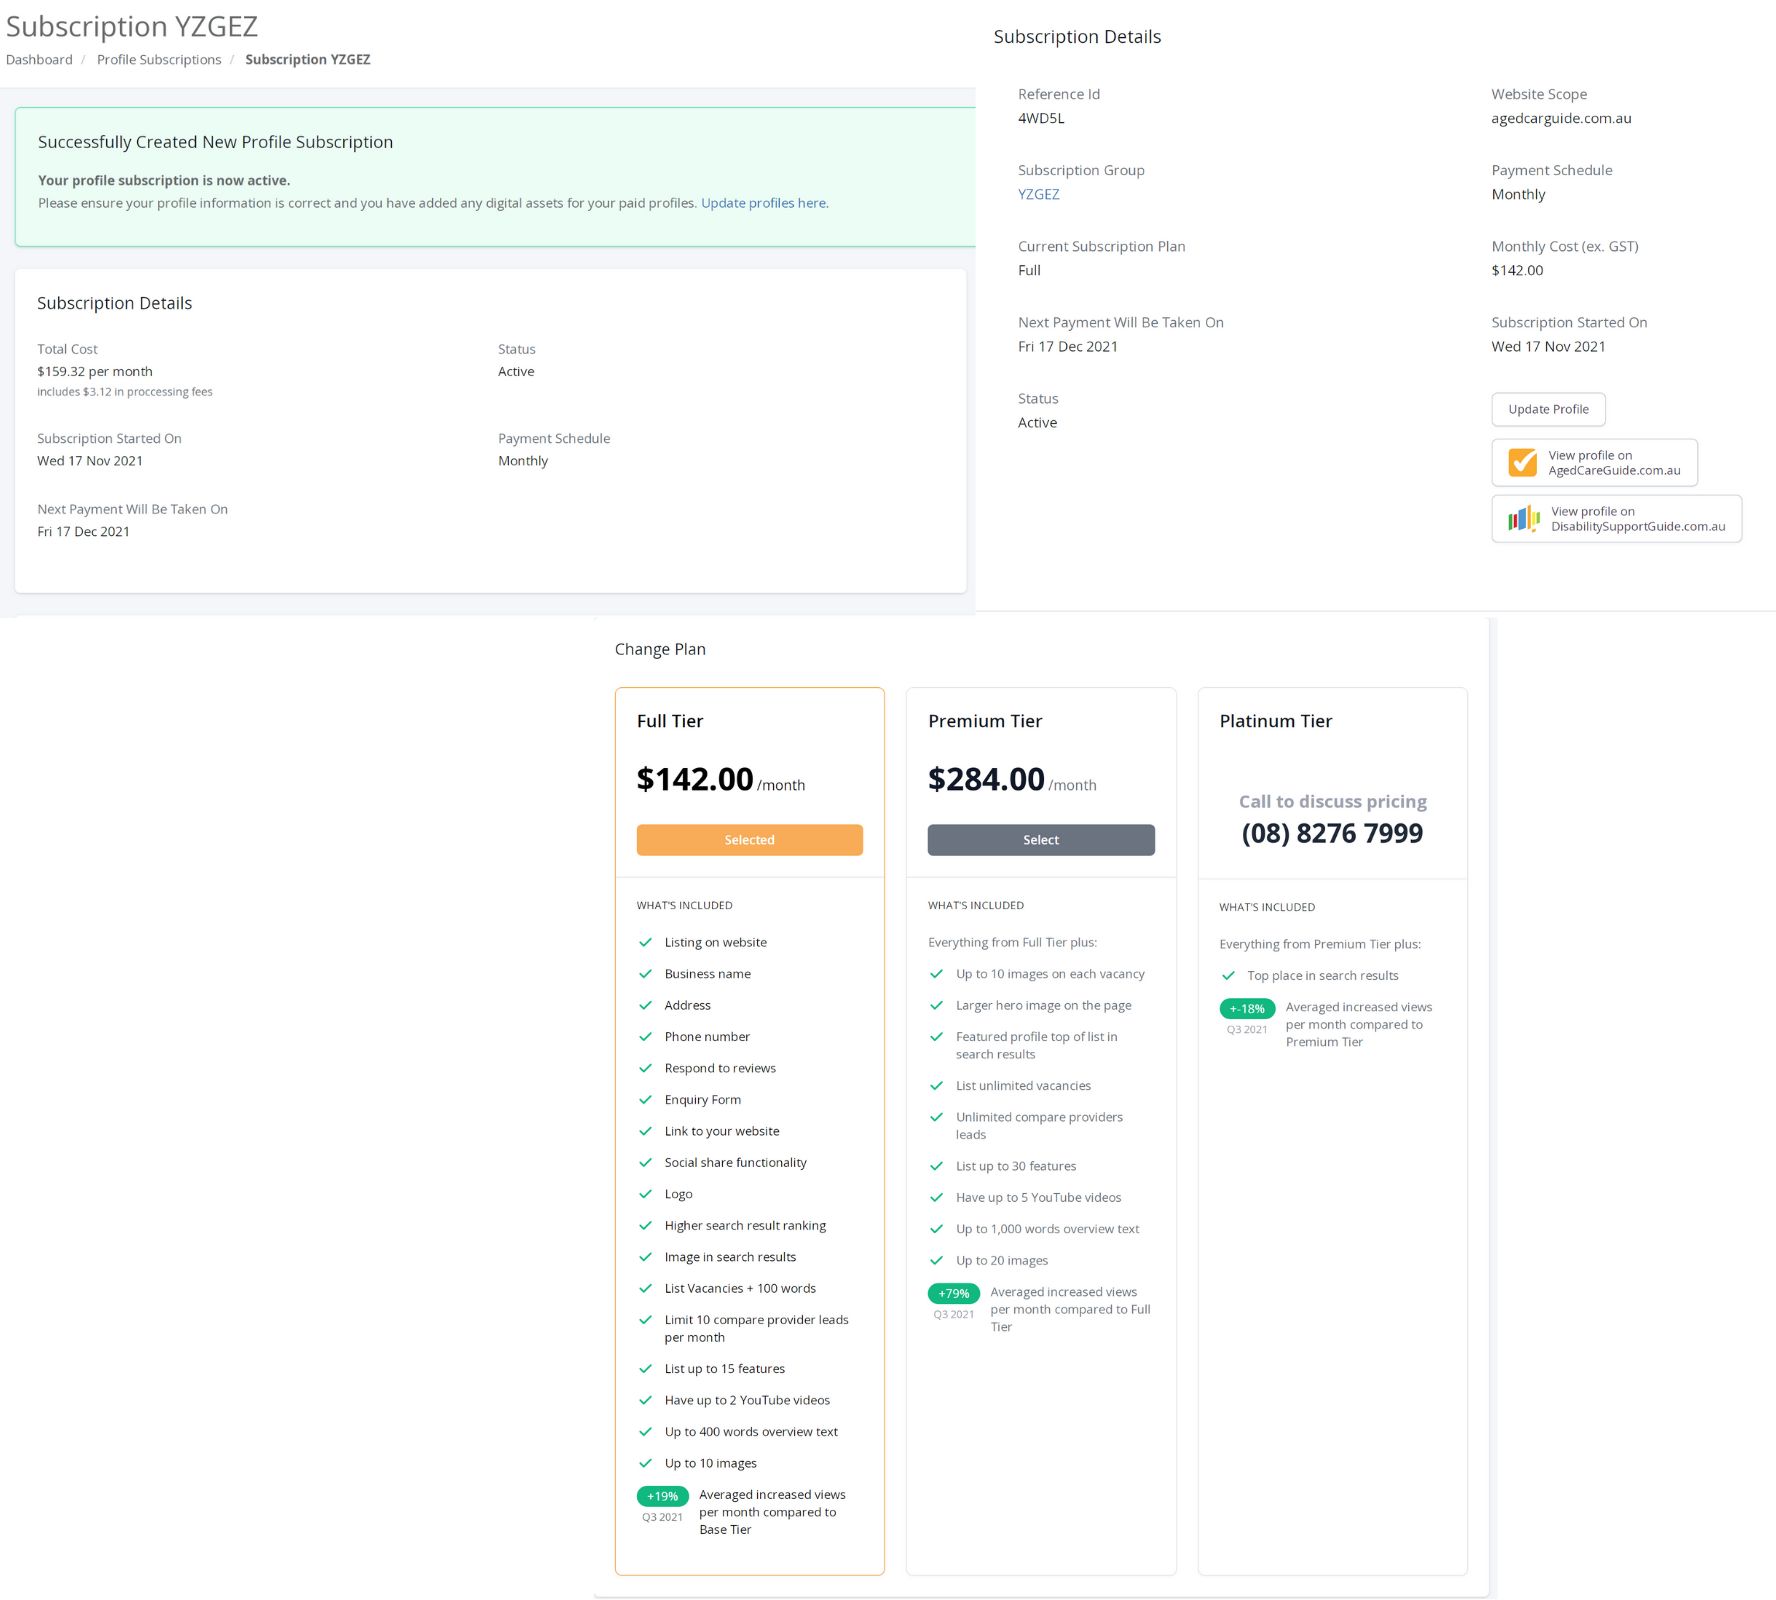
Once confirmed you will be taken to a Subscription Details page. This will detail the Subscription Group, if you click on the Subscription Group on any screen you will be able to make amendments including cancelling your subscription at any time, when your next payment will be taken and more. From this screen you can Update your profile, view your profile on either the Aged Care Guide or Disability Support Guide Websites. At the bottom there is also the option to upgrade the tier if you would like to.
9.
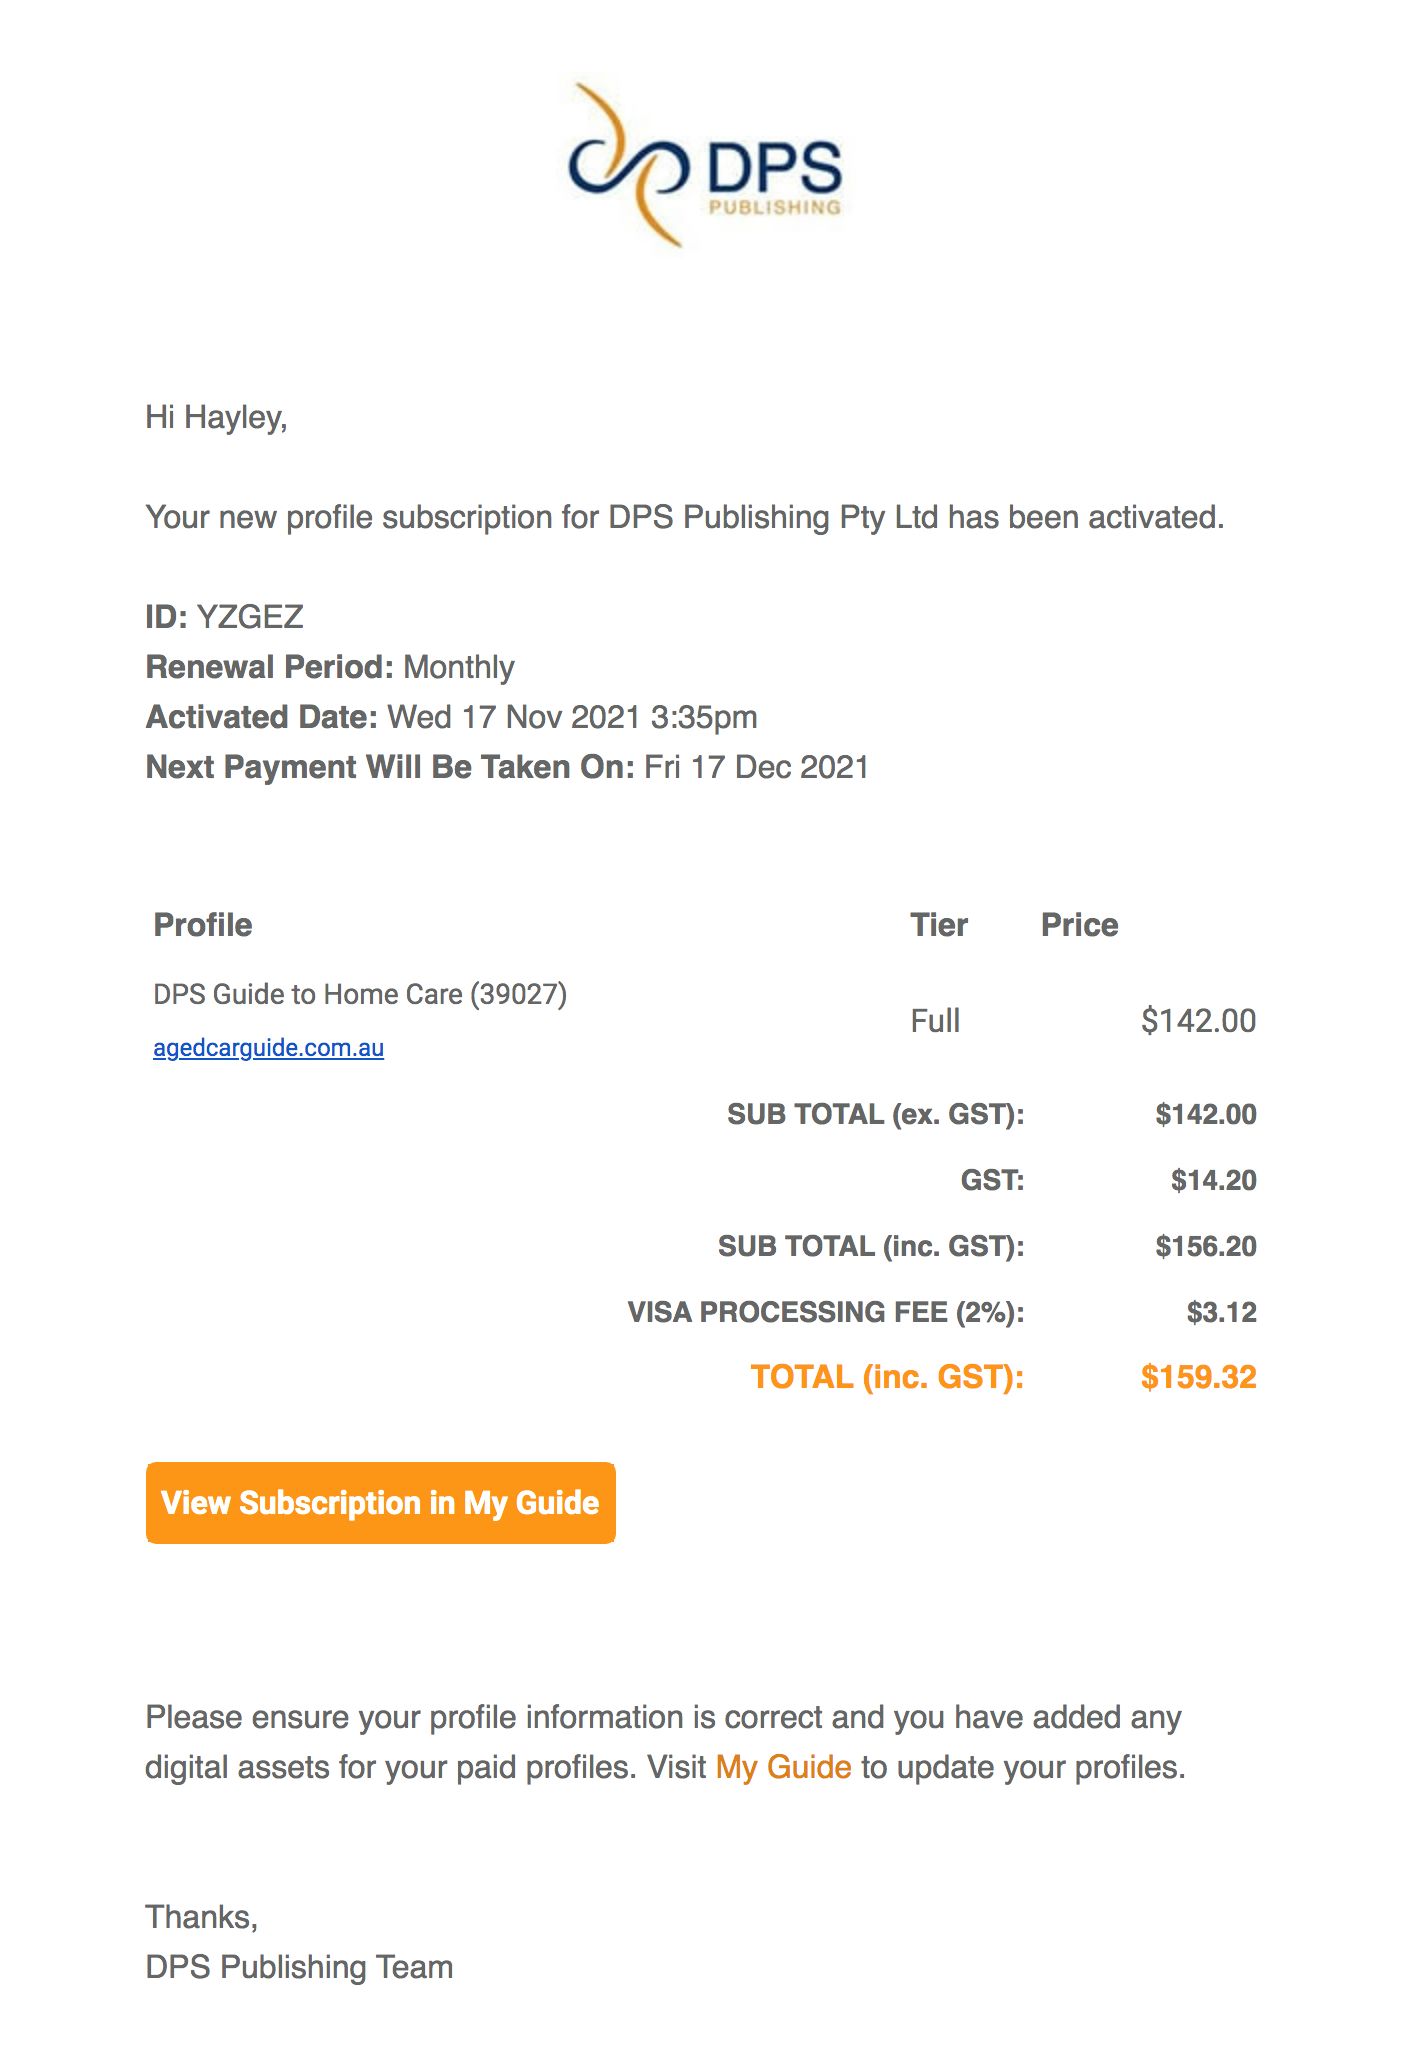
The designated billing contact will receive a confirmation email with all the details. Shortly after creating the description the designated data contact will receive an email from the Customer Service team detailing the specifications of the what is required for your upgraded tier. You will be able to update the profile details through your My Guide at any time.